Documentation
How to Become a Seller
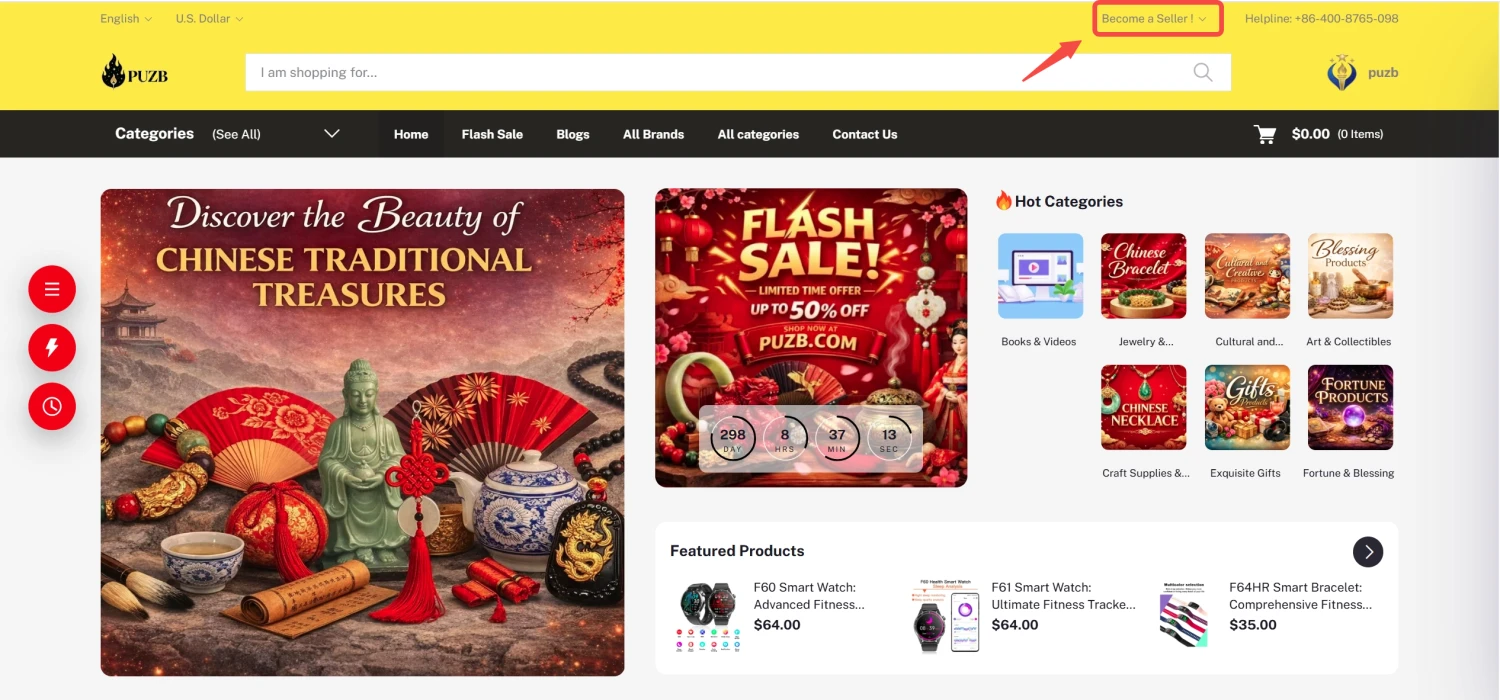
To become a seller, you need to register your shop on the website. Follow these steps carefully:
- Go to the PUZB website.
- Scroll down to find the “Apply Now” section.
- Click on the Apply Now button.
-
Fill in your registration details:
- Your Name
- Your Email
- Your Password
- Repeat Password
- Shop Name
- Address
- Make sure all the information is correct.
- Click on the “Register Your Shop” button.
Important Points:
- Use a valid email address because it may be needed for verification.
- Choose a strong password to keep your account secure.
- Double-check your shop name and address before submitting.
How a Customer Registers
Customers need to create an account to use the website. Follow these steps:
- Go to the homepage of the website.
- Look at the top right corner and click on “Login.”
-
If you already have an account:
- Enter your email/phone number
- Enter your password
- Click on Login
-
If you are a new user:
- Click on “Register Now”
-
Fill in the required details:
- Name
- Phone Number or Email
- Password
- Confirm Password
- Agree to the terms and conditions.
- Click on “Create Account.”
Important Points:
- Make sure your phone number or email is correct for future login.
- Remember your password to avoid login issues.
- Always agree to the terms and conditions before creating an account.
How to Upload Products (For Sellers)
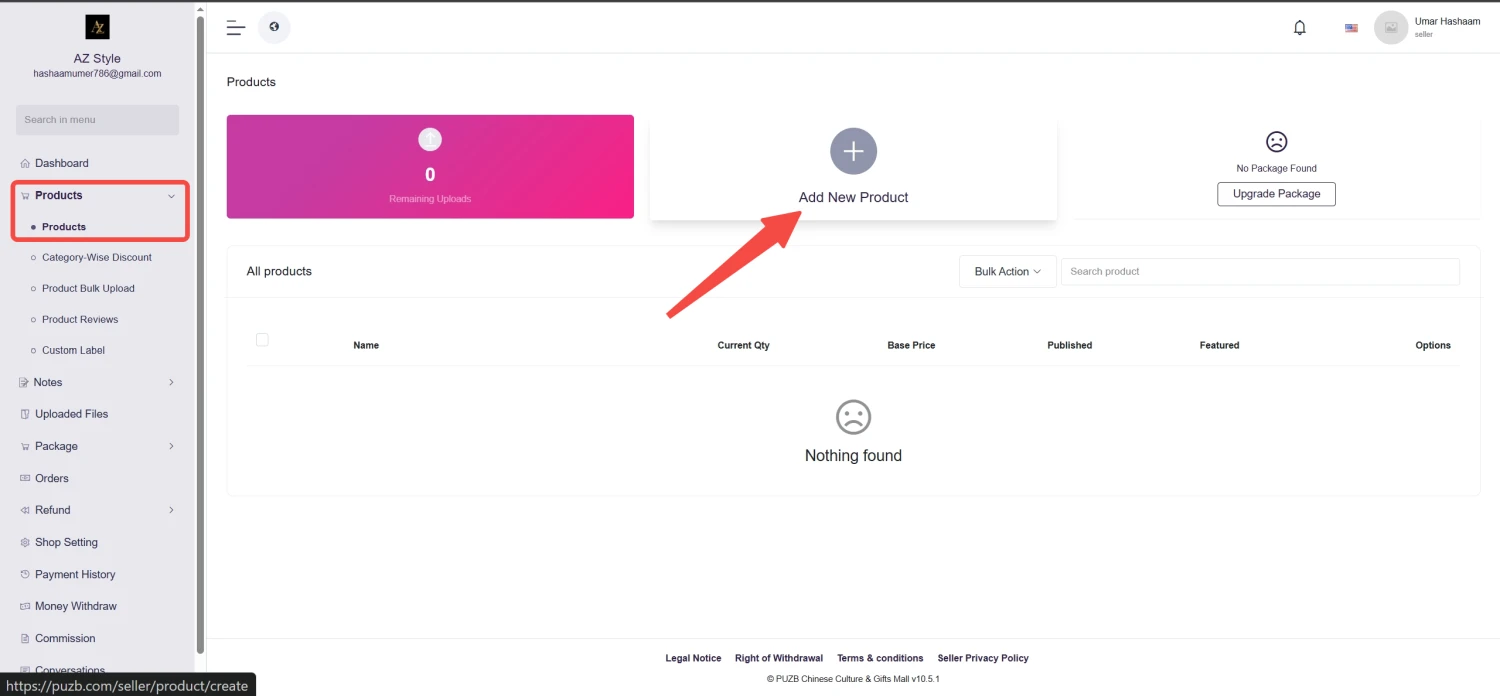
After becoming a registered seller, you can upload products by following these steps:
- Log in to your seller account.
- Go to the left-side menu (navigation bar).
- Click on “Products.”
- Click on “Add New Product” from the top menu.
-
Fill in the product details:
- Product Name
- Brand
- Unit
- Weight
- Minimum Purchase Quantity
- Tags
- Barcode
-
Upload product media:
- Main Images
- Thumbnail Image
- Optional: Add a Video URL
-
Select categories:
- Choose a main category
- Select multiple related categories if needed
-
Add product variations:
- Enable or disable color options
- Add other attributes if required
-
Enter pricing details:
- Unit Price
- Discount (if any)
- Discount Date Range
- Quantity
- SKU
- External Link (optional)
- Add additional information:
- Product Description
- PDF Specification (if available)
- SEO Meta Tags
- Add frequently bought products:
- Select products individually and click Add More
- Or select by category
-
After completing all details, click on “Upload Product.”
How a Seller Can Set Up Seller Panel & Homepage
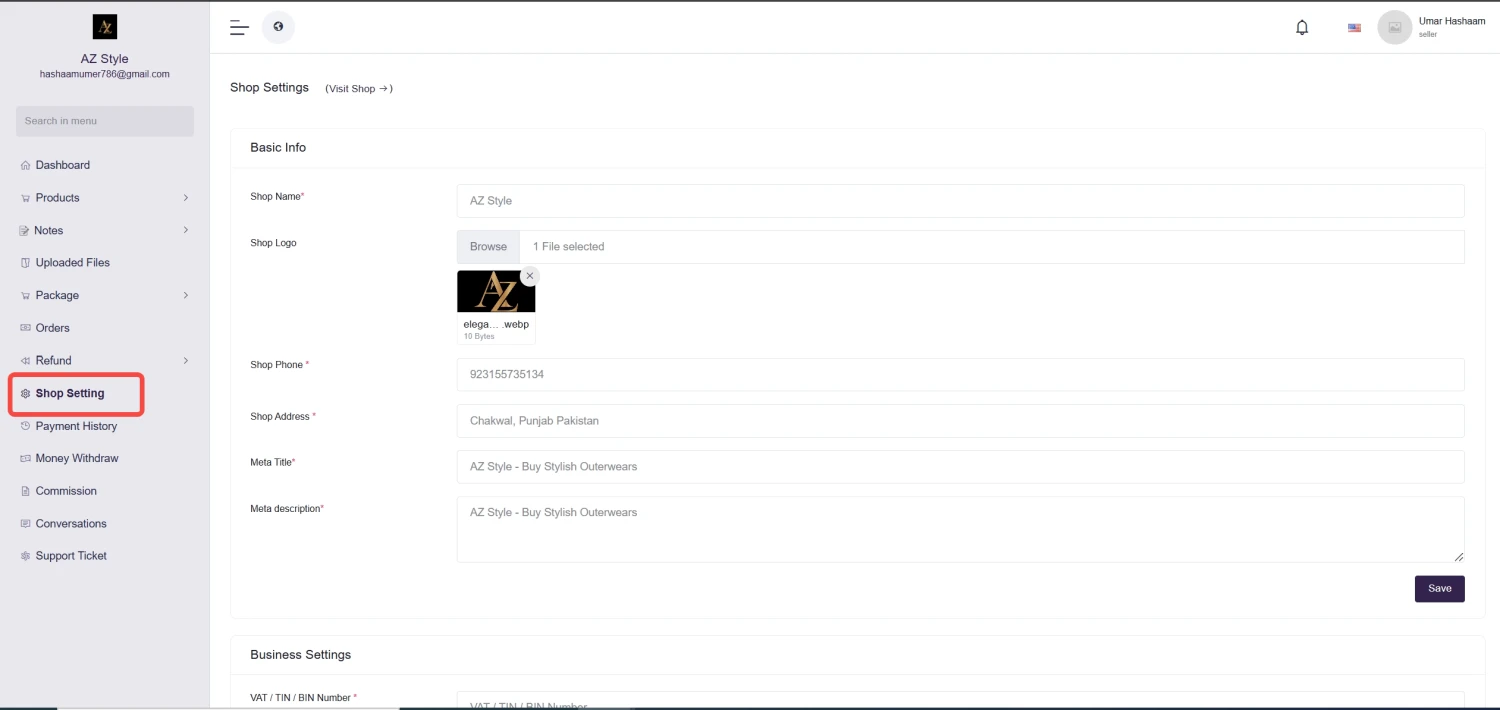
To set up your seller panel and homepage, follow these steps:
- Log in to your Seller Panel.
- Go to the “Shop Settings” section.
-
Enter your shop’s basic information:
- Shop Name
- Shop Logo
- Shop Phone Number
- Shop Address
- Meta Title
- Meta Description
- Delivery Boy Pick-up Point Information
- Scroll down to find the Banner Settings section.
- Add banners to design and customize your homepage.
- Arrange banners as per your preference to make your shop look attractive.
Important Points:
- Upload a clear and professional shop logo to build trust.
- Use SEO-friendly meta title and description to improve visibility.
- Add attractive banners to make your homepage engaging.
How to Translate Product Information into Multiple Languages
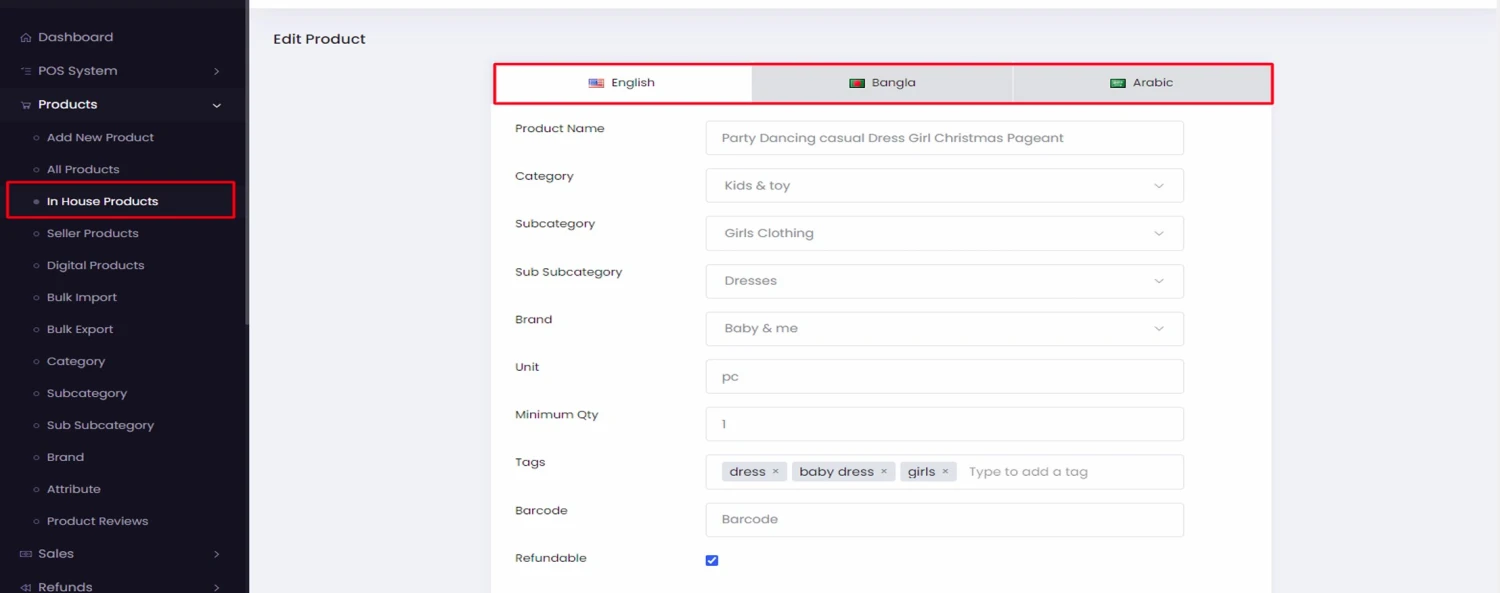
To translate product information, follow these steps:
- Log in to the Seller's Admin Panel.
- Go to the Products List from the navigation menu.
- Find the product you want to translate.
- Click on the Edit (pencil) icon.
- The product will open in the default language.
- Select your desired language from the language options.
-
Translate the following fields:
- Product Name
- Unit
- Description
- After translating, click on the “Save” button.
Important Points:
- Only specific fields can be translated (name, unit, description).
- Make sure translations are accurate to avoid confusion for customers.
- Save changes after each translation to prevent data loss.
How to Purchase Products
There are two ways to purchase a product:
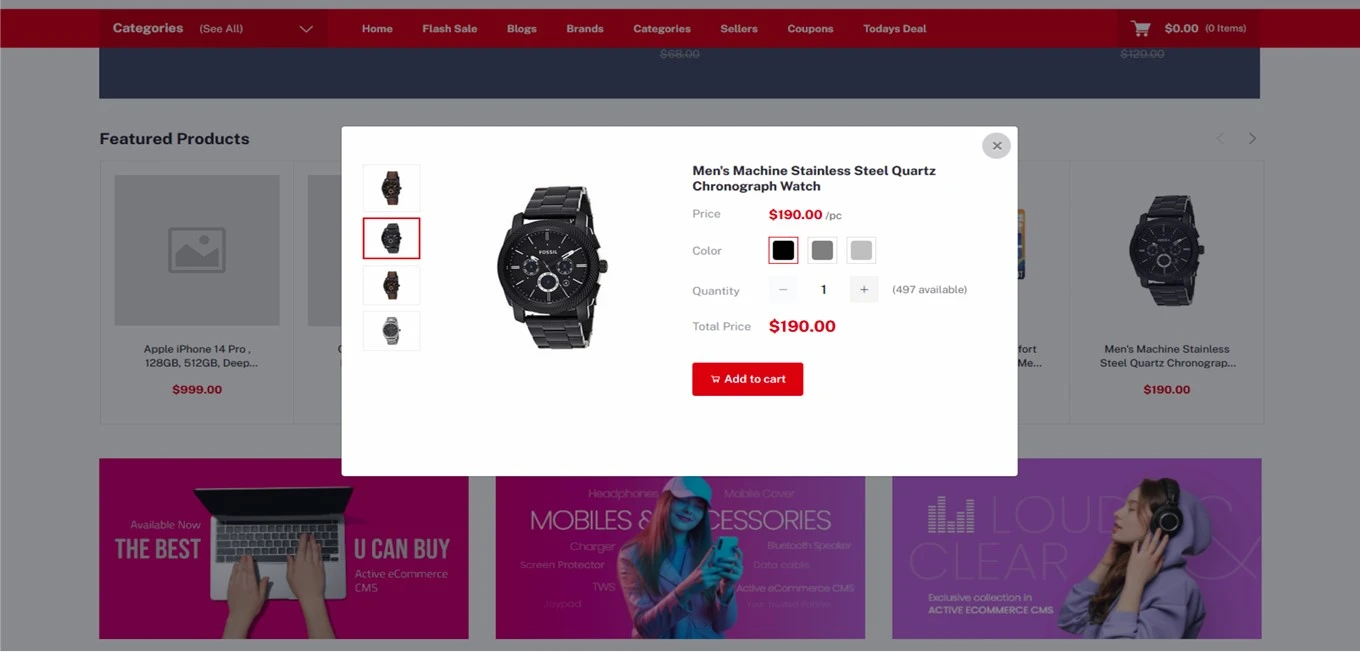
Method 1: Direct Purchase (Without Opening Product Page)
- Go to the product listing page.
- Click on the Cart Icon on the product.
- A pop-up window will appear with product details.
- Select product options (if available) and quantity.
- Click on “Add to Cart.”
-
Another pop-up will appear with two options:
- Back to Shopping
- Proceed to Checkout
- Click on “Proceed to Checkout.”
- You will be redirected to the Cart Page with order summary.
- Click on “Continue to Shipping.”
- If you are a registered user, your name and email will be auto-filled.
-
Enter shipping details:
- Address
- City
- Postal Code
- Phone Number
- Click on “Continue to Payment.”
- Select your preferred Payment Method.
- Click on “Complete Order.”
- Enter payment details and complete the payment.
- If you select Cash on Delivery, the page will reload and show a successful order message.
Important Points:
- Always check product quantity and options before adding to cart.
- Provide correct shipping details to avoid delivery issues.
- Choose a secure payment method for safe transactions.
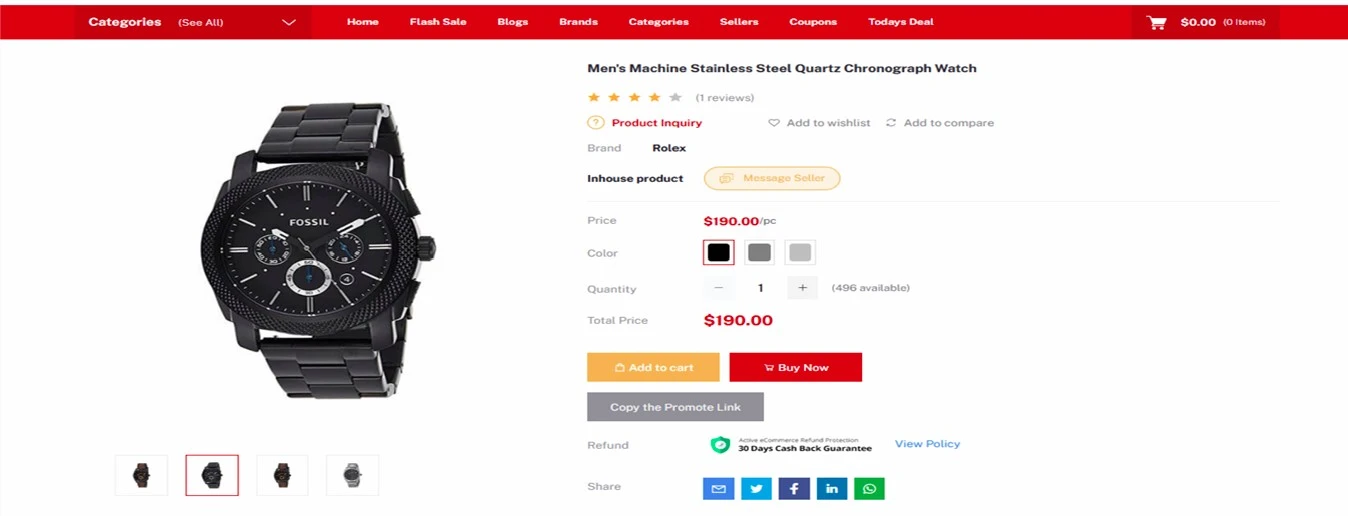
Method 2: Purchase from Product Details Page
- Click on the Product Title to open the product details page.
- Review all product information carefully.
- Select required options (size, color, etc.).
- Choose the quantity.
- Click on “Add to Cart.”
-
(Optional) You can also:
- Add to Wishlist
- Add to Compare List
- To complete the purchase, follow the same steps from checkout to payment as explained above.
Important Points:
- Check full product details before buying to avoid mistakes.
- Use wishlist or compare feature for better decision-making.
- Follow checkout steps carefully to complete your order successfully.
How a Customer Can Follow a Seller?
Customers can follow their favorite sellers to stay updated with their products. Follow these steps:
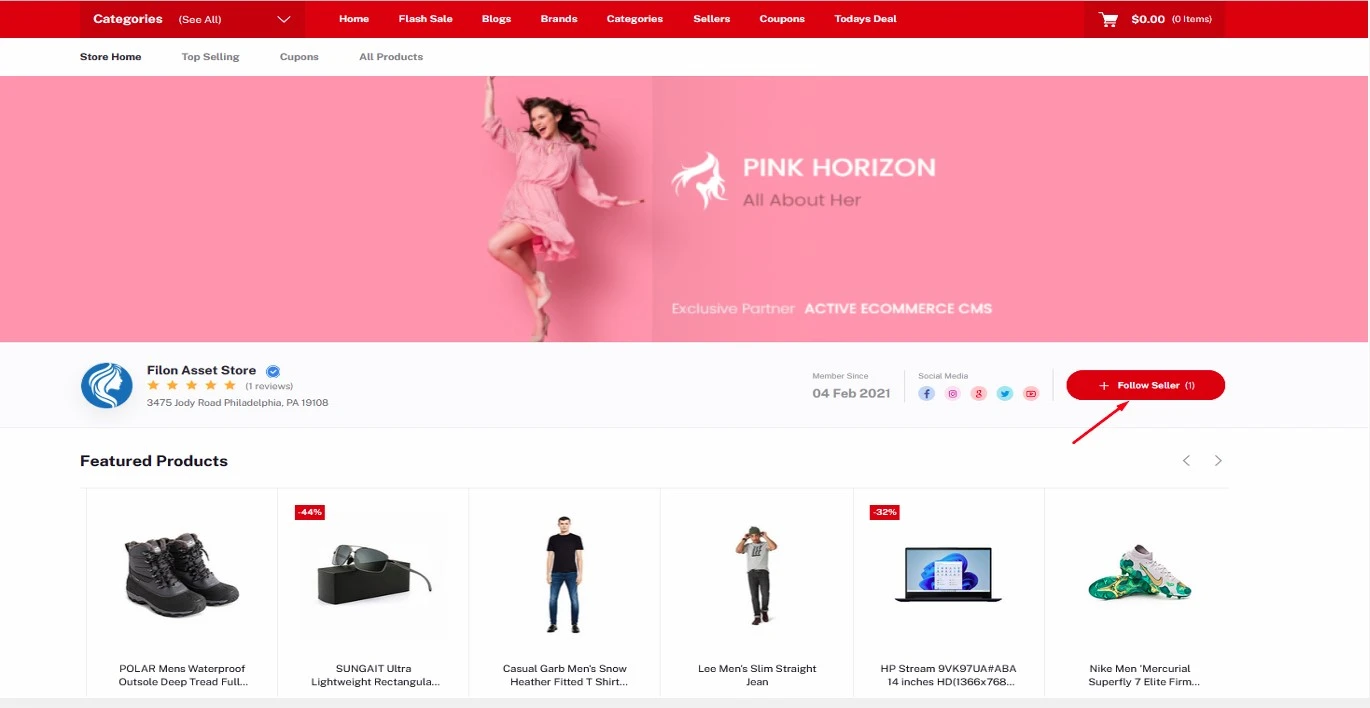
Follow a Seller from Homepage
- Go to the homepage of the website.
- Visit any seller’s store.
- Look for the “Follow Seller” option on the store page.
- Click on “Follow Seller.”
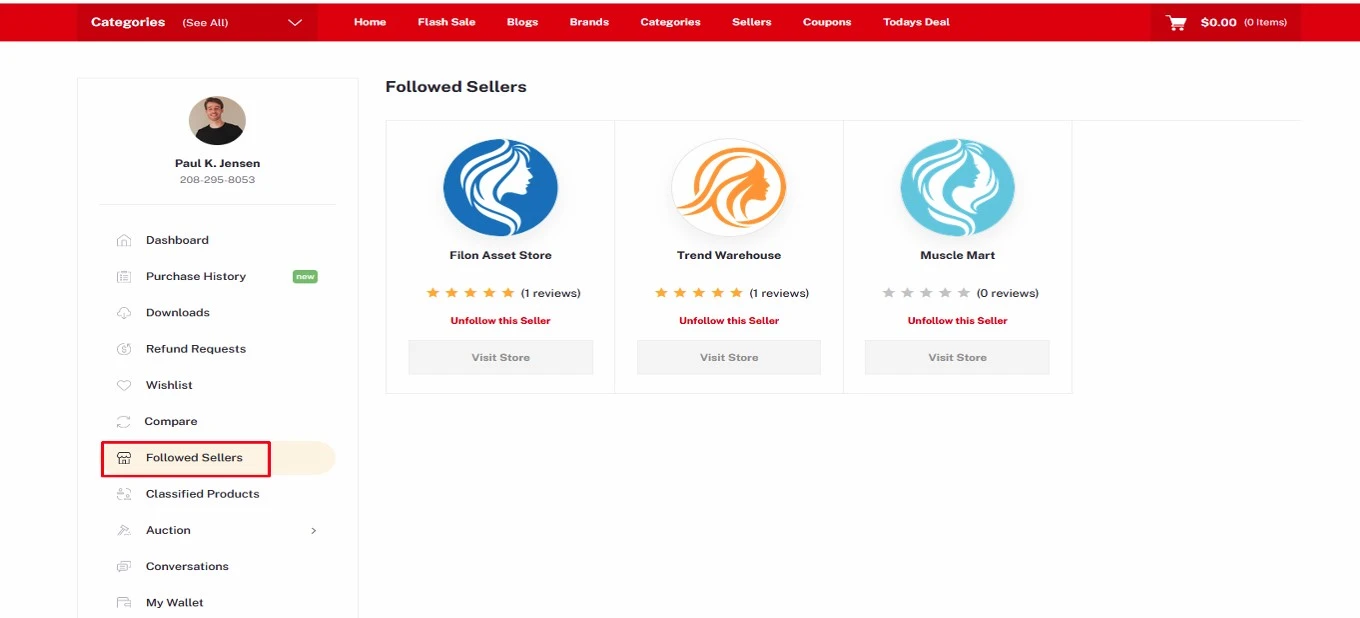
Check and Manage Followed Sellers
- Log in to your Customer Panel.
- Go to the “Followed Sellers” section.
-
Here you can:
- View all the sellers you are following
- Visit any seller’s store
-
Click on “Unfollow” if you want to remove a seller
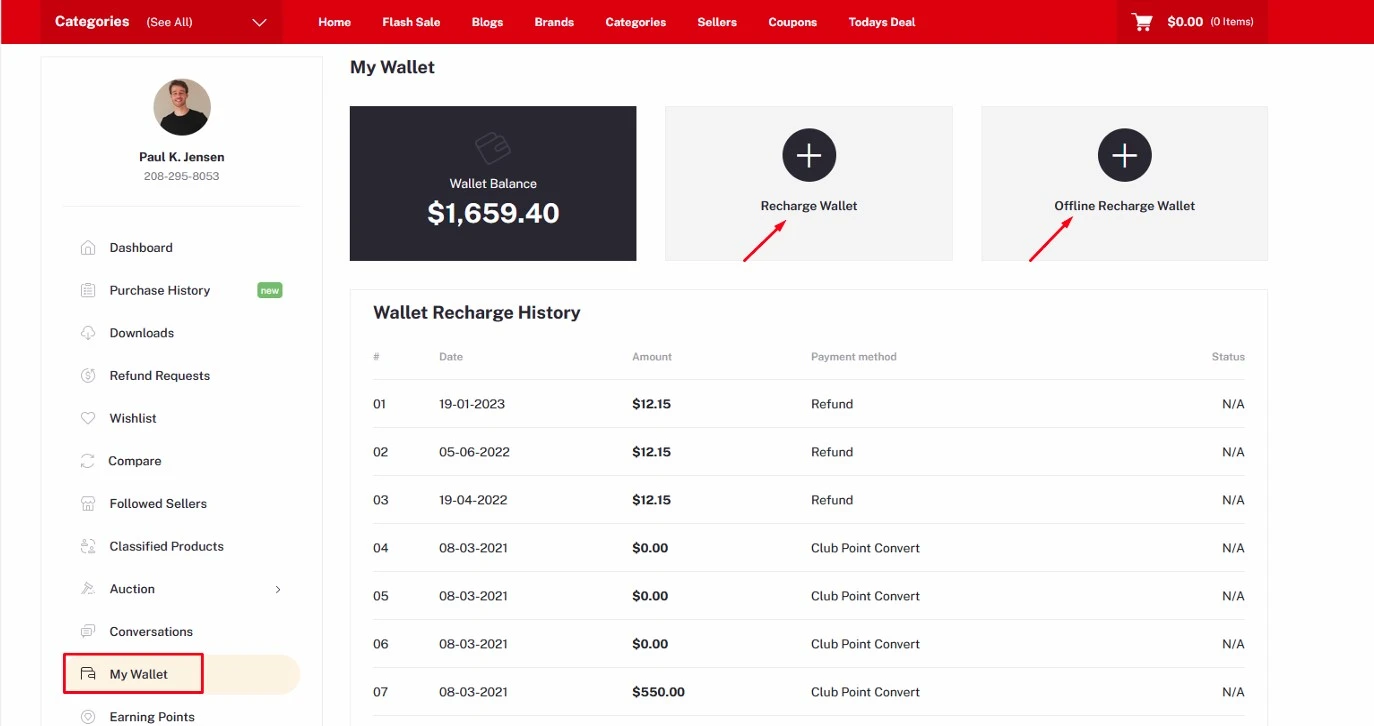
How to Manage Your Wallet
Customers can manage their wallet to make payments easily. Follow these steps:
Access Your Wallet
- Log in to your Customer Panel.
- From the left-side navigation menu, click on “My Wallet.”
Wallet Options
In the wallet section, you will find two options:
1. Recharge Wallet
- Use this option to add money to your wallet online.
- Supported payment methods may include PayPal, Stripe, and other authorized payment gateways.
2. Offline Recharge Wallet
- Use this option to add money manually (offline).
-
Enter the following details:
- Amount
- Transaction ID
- Upload a photo of the payment (if required)
- Note: Offline recharge may require additional add-ons or permissions.
Using Wallet Balance
- After adding money to your wallet, you can purchase products directly using your wallet balance.
-
The wallet balance will automatically be deducted during checkout.
How a Customer Can Check Coupons for Any Store
Customers can easily view available coupons for a store by following these steps:
- Go to the homepage of the website.
- Scroll to the Top Seller section.
- Click on “Visit Store” for the store you want to check.
- At the top of the store page, click on “Coupons.”
- You will now see all the available coupons for this store.
Important Points:
- Check coupon validity before using it.
- Some coupons may have minimum purchase requirements, so read the details carefully.
- Using coupons can help save money on purchases from your favorite sellers.
How to Request Money Withdrawal as a Seller
Sellers can request withdrawal from their earnings by following these steps:
- Log in to your Seller Account.
- Go to the left-side navigation menu and click on “Money Withdraw.”
- Click on “Send Withdraw Request.”
- The request will be processed based on your available earnings balance.
Important Points:
- You can only withdraw money if you have a positive balance in your seller account.
- Keep track of withdrawal requests to ensure timely processing.
- Check payment method settings to avoid delays in receiving your funds.